Unfortunately, this deal is no longer available
*
56°
Posted 26 March 2008
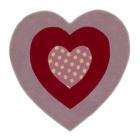
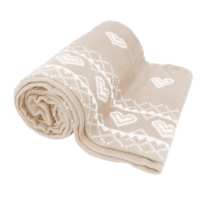
Heart Rug was £30 now £10
Shared by
kensington143
Joined in 2007
104
117
About this deal
This deal is expired. Here are some options that might interest you:
Heart shaped wool rug in bands of pink and lilac.Key Features
Dimensions L89 x W85cm
Material 100% wool pile
Washing instructions Spot clean only
Dimensions L89 x W85cm
Material 100% wool pile
Washing instructions Spot clean only
 More details at
 Community Updates


9 Comments
sorted byVoted hot.
B